I had a need. A need… for water storage.
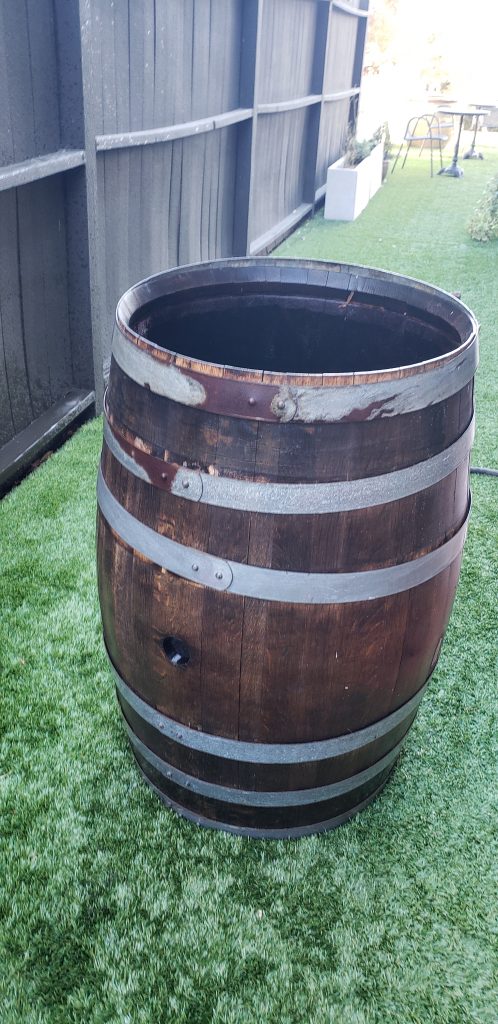
With my aquascape water changes, which typically needs to be done at least once per week, I wanted to use that water in the home landscape. But storing and hauling around 5 gallon buckets was not going to happen. However, I did have a decorative… i.e. doesn’t hold water… wine barrel.
So began my adventure in attempting to convert a decorative wine barrel into a water harvesting barrel.
I didn’t find anything online on repurposing a wine barrel of this type into something that could hold water and serve as a rain harvest barrel. The best I found was half-barrel conversions which immediately flagged the difficulty of doing this on a full barrel size. Others were done on wine barrels that were still water tight.
1. Water Test
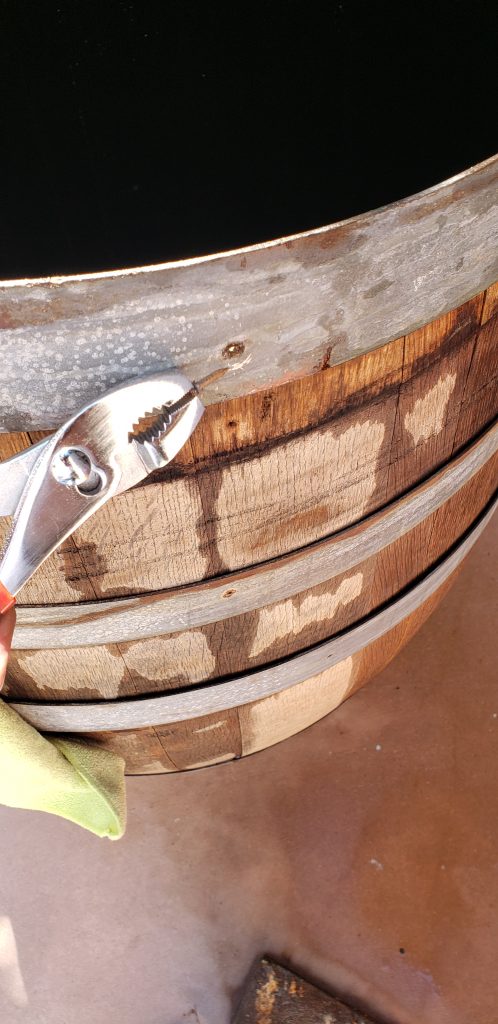
Since my gifted barrel was decorative, the first step was to see if it could actually hold water… which I suspected it wouldn’t but it was worth a shot. So I had to get the bung out and test it out.

There are tools for removing a wine barrel bung; however, a screw to grip the bung and some elbow grease with a plier did the trick. Add water and watch it leak like a sieve… so onto water sealing the interior of the barrel.
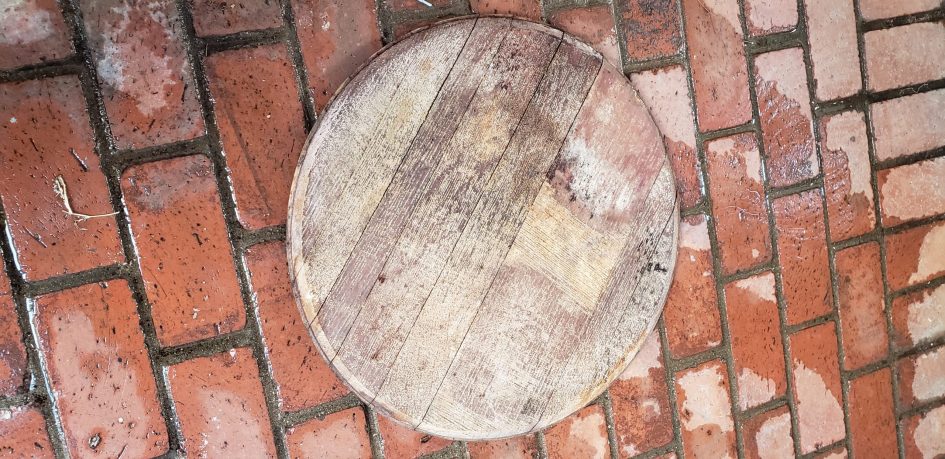
2. Pop the Lid
To seal the interior requires opening the lid to get some liner in there. Opening the barrel lid also requires special tools (if you watch the pros do it); but, much like my bung removal method, I have other means to opening the lid.
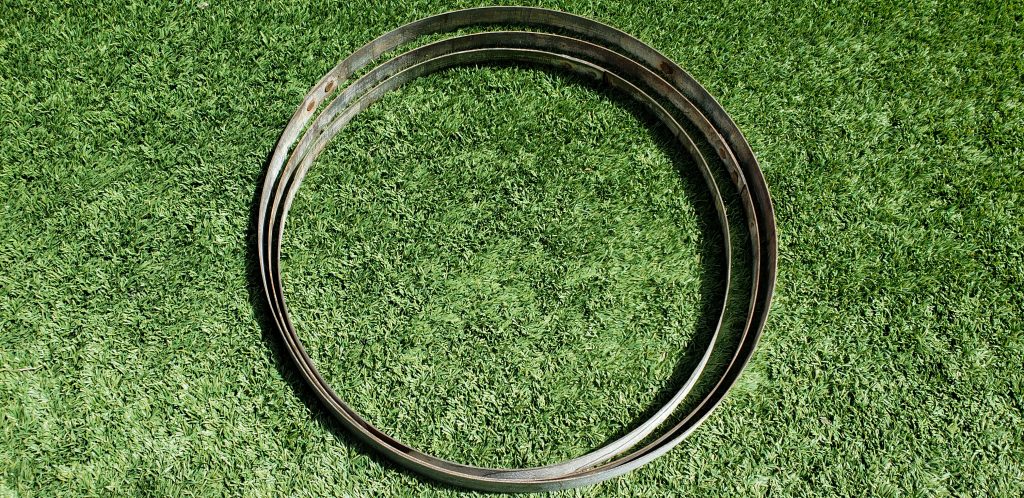
With the use of a small crow bar and a mallet, simply pop the rings of the barrel loose. Start on the top ring and work around the barrel until its loose. Follow that up with the next 2 lower rings so it becomes easy to pull the top section of the barrel apart enough to loosen the lid and pull out.
However, there is a catch. Most barrels have some form of nail in these rings to keep them in place once set. These, I found, can be removed with a plier and a twisting motion to pull out. Do this before attempting to hammer up the rings:)
3. Wash Interior
Opening the decorative wine barrel, which was outdoors for years, released a nice bouquet of mold and yikes. So cleaning the interior was a necessity. There is probably many ways of doing this; however, I used a combination of vinegar rinse out followed by a thorough wash out with OxiClean.
Since the barrel doesn’t hold water, I just rolled it on its side with the cleaning solution multiple times along with some scrubbing using an old grill brush.
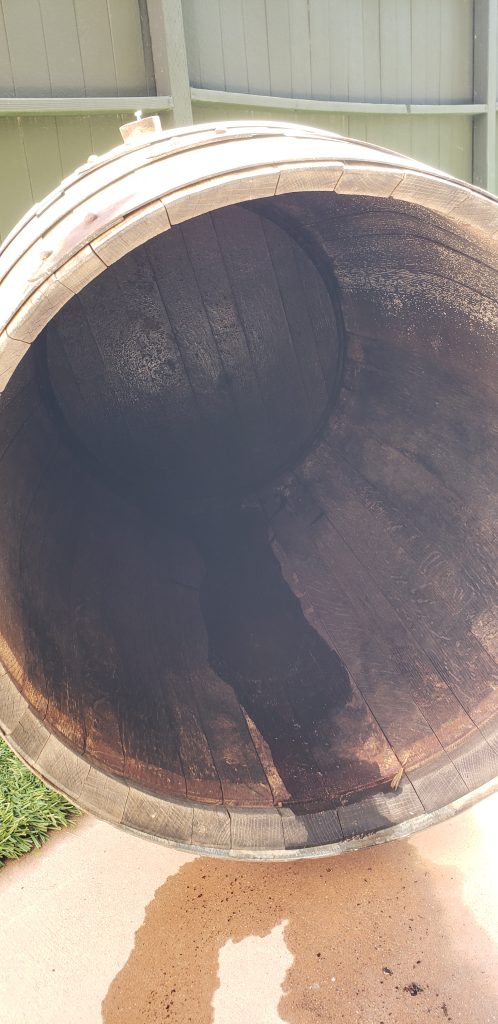
Once washed and cleaned from any debris, I let the barrel dry overnight before moving on to the next step.
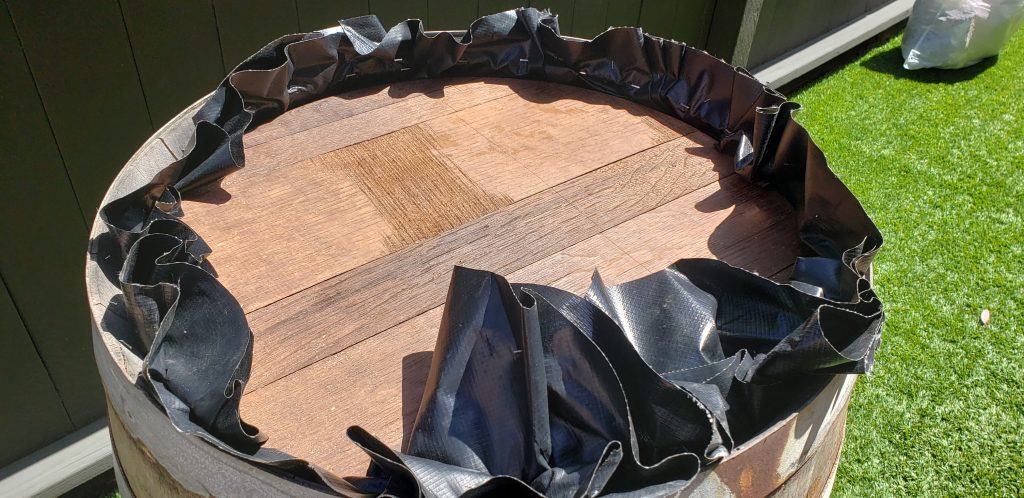
4. Pond Liner Install
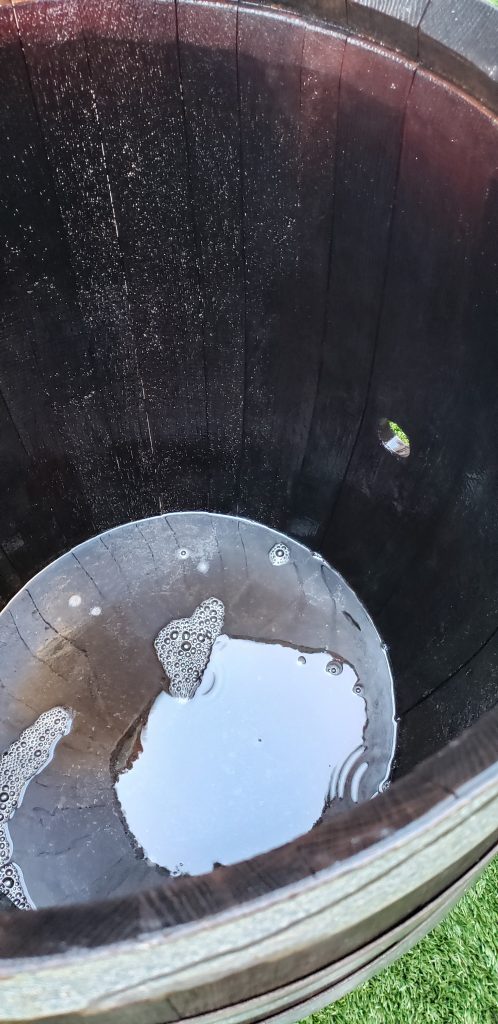
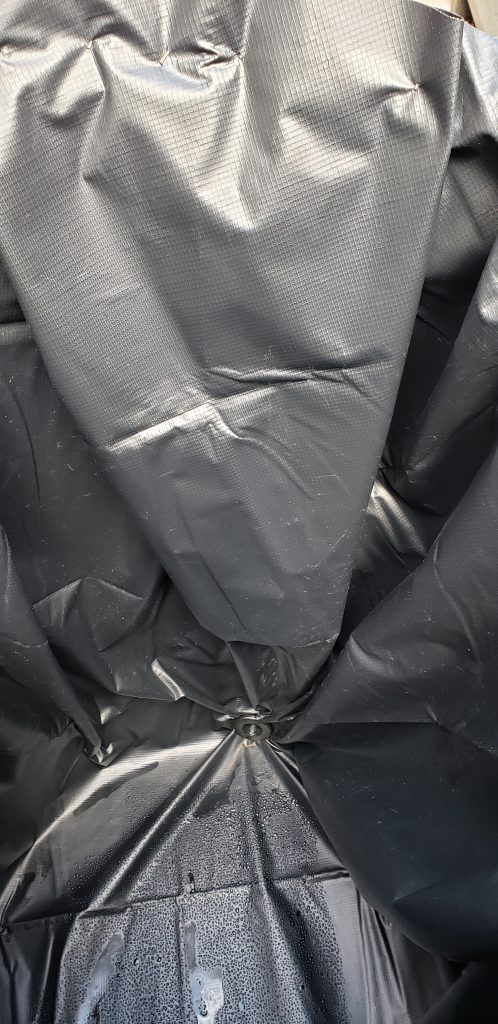
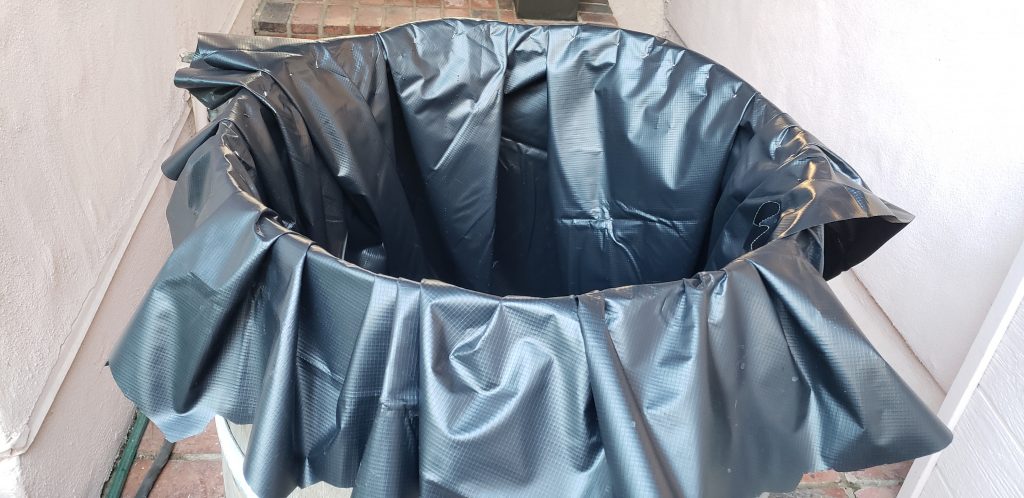
I decided to use a pond liner on the inside of the barrel to get the water tight seal. I pushed the center of a 84″ x 120″ pond liner into the barrel and worked it up and over the lip. I then placed a small bucket of water at the bottom to get some weight on the liner to ensure there was enough friction on the overhang to prevent it from falling back into the barrel.
I then partially filled it up with water just to verify this was going to work and the liner would expand outwards against the barrel wall.
All good… so time to dump the water and begin tacking the liner and drilling holes!
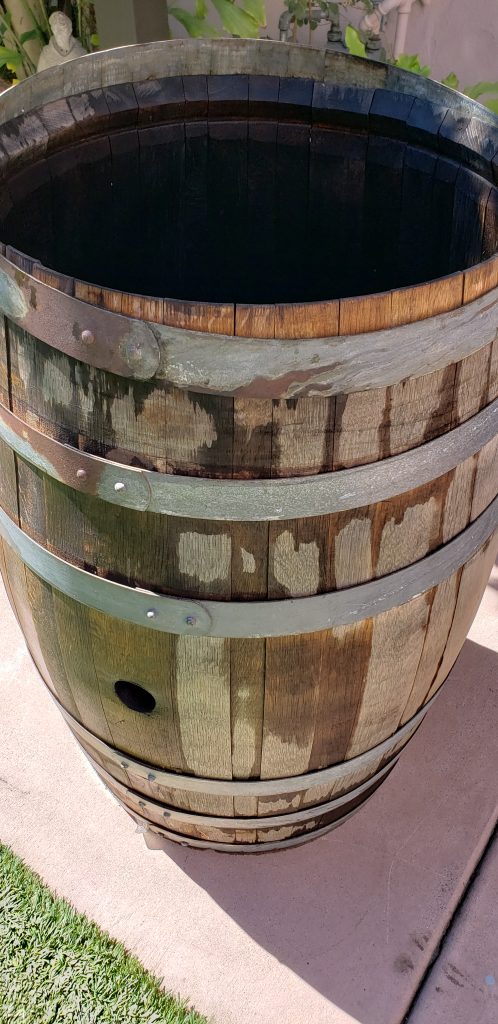
5. Spigot and Inlet Holes
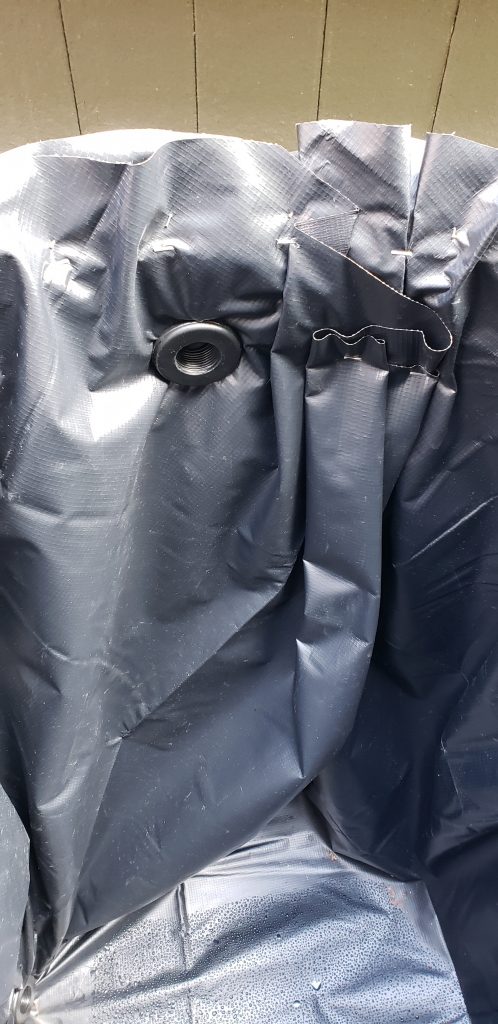
In order to keep the water tight seal, I used bulkhead fittings for both the inlet and spigot holes. This is a little tricky since you need to pull the liner into the hole from the inside to keep a decent seal (combined with some silicone sealant). First; however, the holes.
Drilling into the wine barrel requires the appropriately sized hole saw bit. My initial spigot hole was slightly under sized which then became a pain to increase the diameter. I ended up using a pull saw to get the spigot diameter right. I made sure to use a slightly larger hole saw for my inlet hole which ended up fitting through easily.
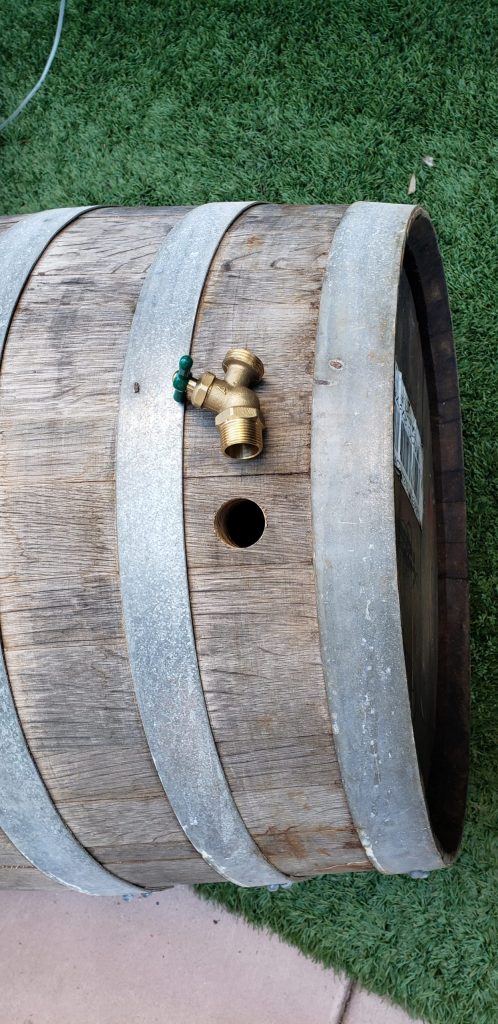
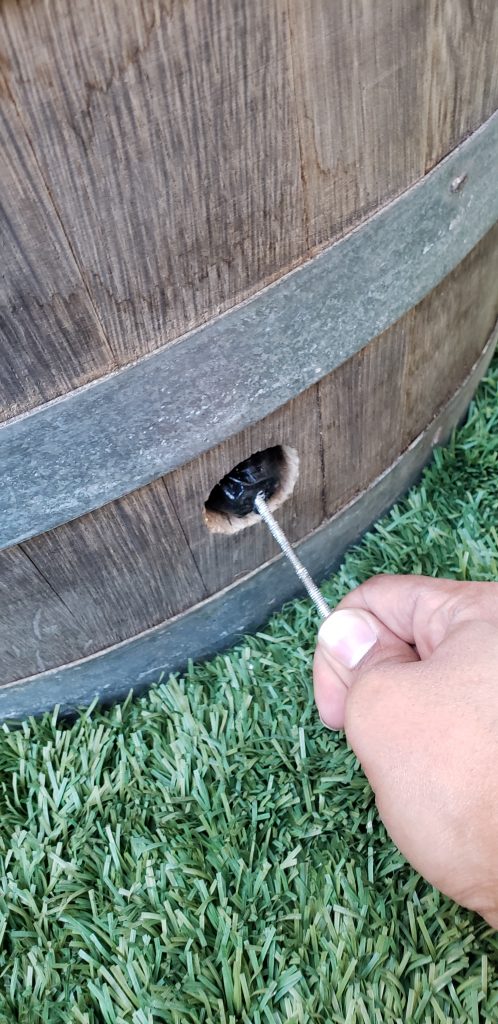
Pulling the liner through the holes required a little Macgyvering. I used a long screw with a washer to poke directly through the center of the hole from the inside of the barrel. I then pulled on the screw from the outside to get enough of the liner into the hole. This allowed me to cut a small hole in the liner on the inside of the barrel. Pushing the bulkhead through will pull some of this liner into the holes edge.
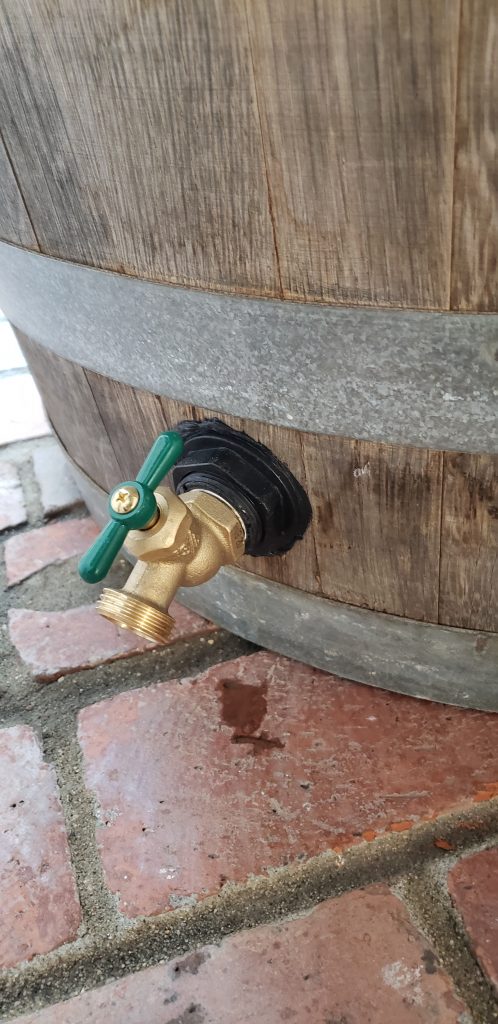
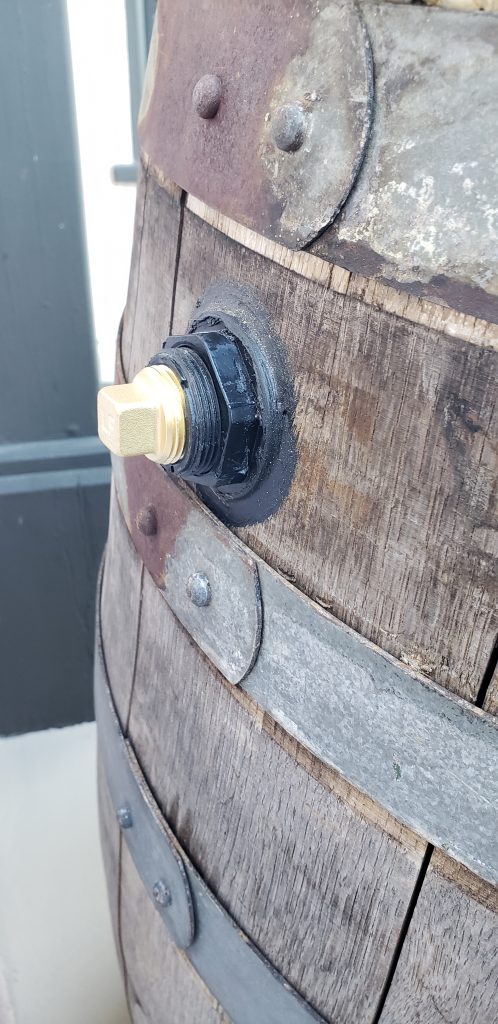
This gets enough of the liner into the side wall of the hole to get a good seal when using a bulkhead. However, I found that it was not enough to prevent a leak through the bulkhead without using additional silicone sealant. You can see the additional black sealant around the base of the bulkhead in the pictures above.
6. Trim Up
Now that the inlet and outlet are in place with a solid water tight seal, it’s now time to trim up the pond liner and prep to get the lid back on. I first used scissors to cut around the top of the barrel to remove the excess pond liner.
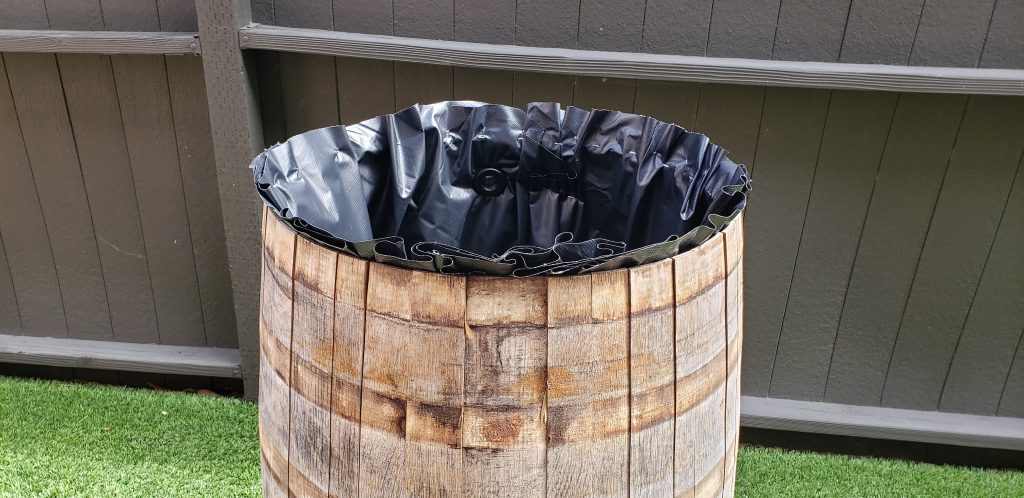
This gave me enough room to work the lid back on which required removal of the top 3 barrel rings. The pond liner makes this step difficult with a tight fitting barrel lid that essentially sits in grooves in the wood. I used the crow bar to effectively hold onto the edge of the lid within the barrel and pull upwards until it sat tight in the wood grooves section. This was not the easiest step requiring multiple attempts and working apart the upper section of the barrel.

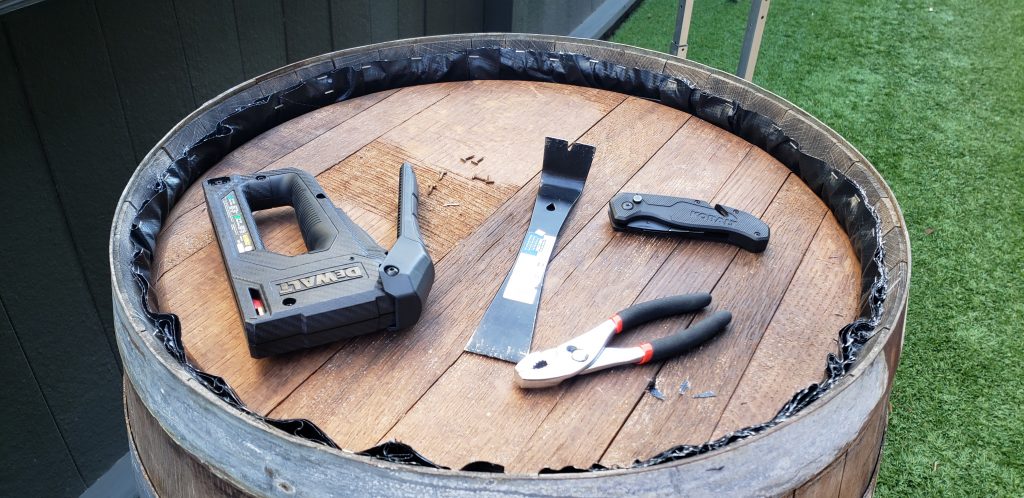
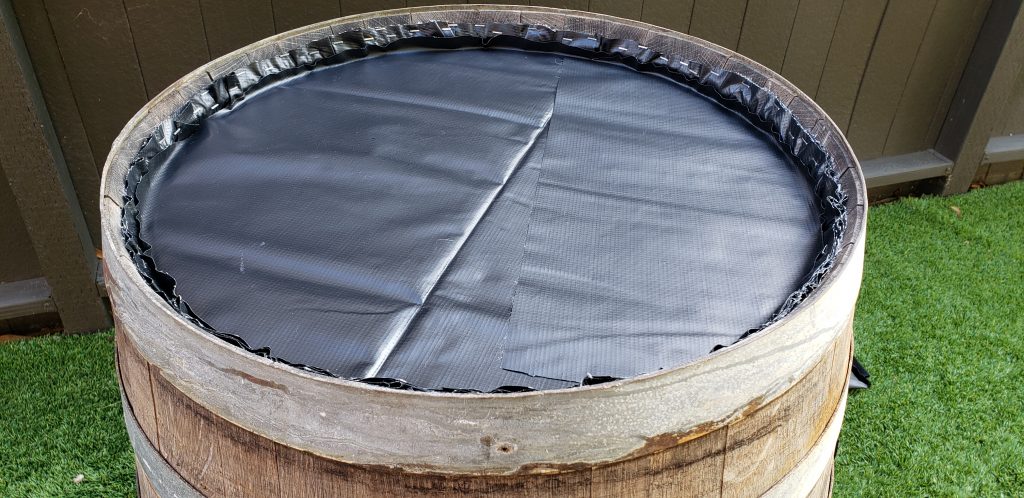
Once on though, it was a just a matter of securing the pond liner with something a little more heavy duty than the initial tacks. I pulled out the tacks and used a staple gun to secure the top of the pond liner. I followed that up by using a box cutter to trim the liner at the interior lip of the barrel, just above where the top surface of the lid sits. The metal rings were then secured back into their original positions.
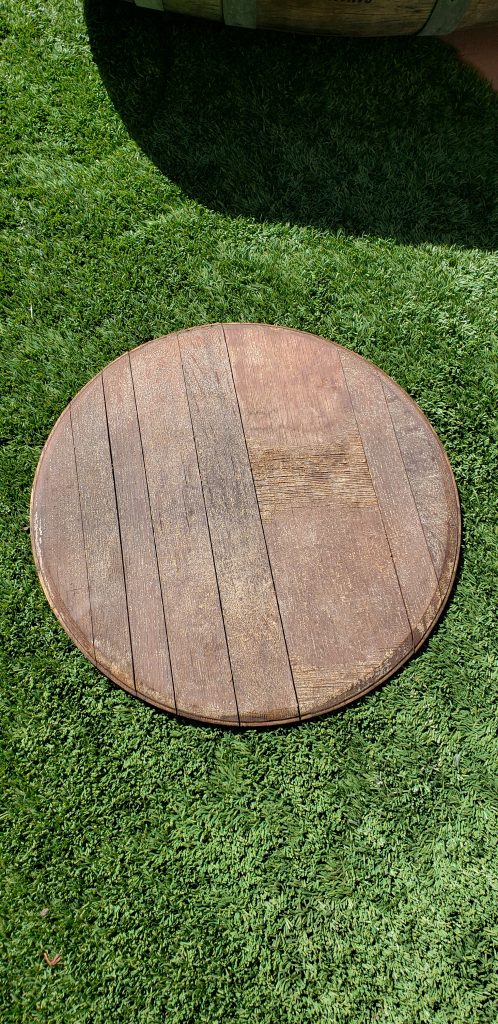
7. The Finish
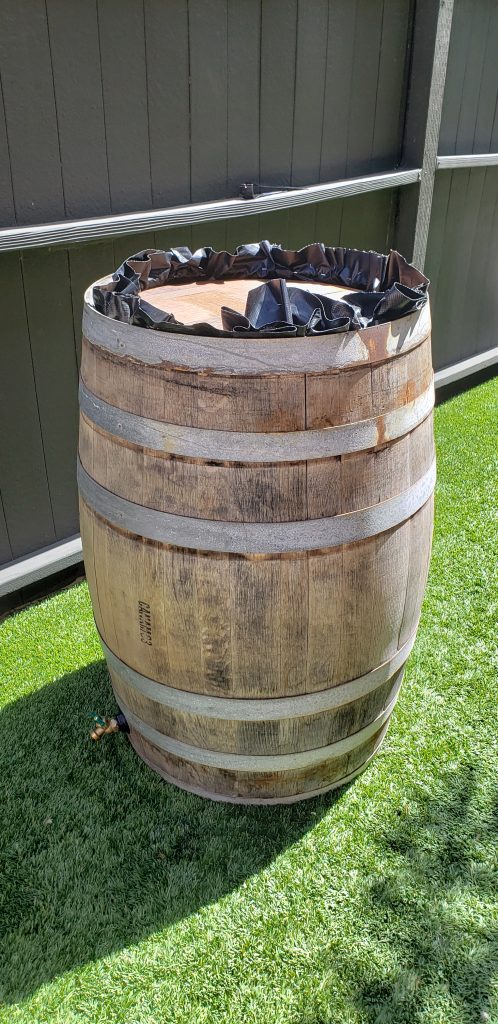
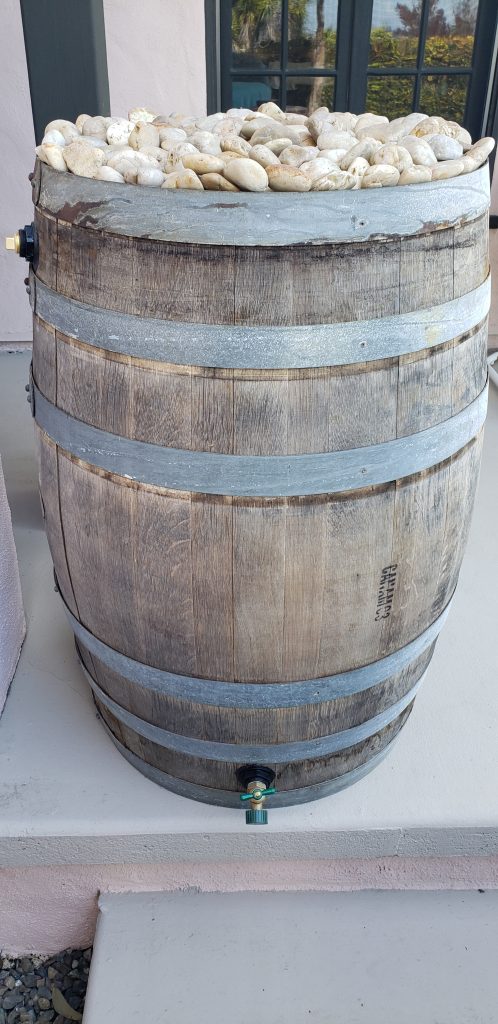
I decided to place decorative rock on the top so I added the remaining pieces of the pond liner on the lid to prevent any stagnant water from deteriorating the top.
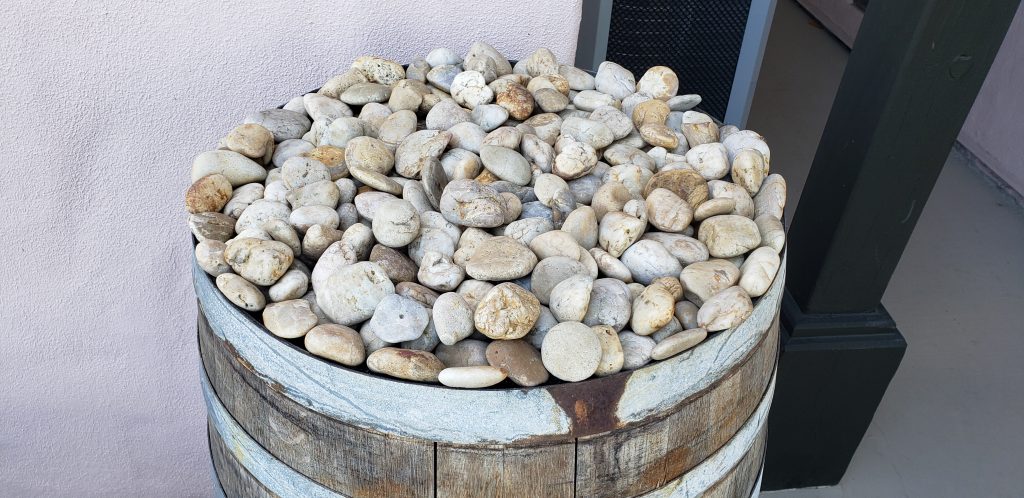
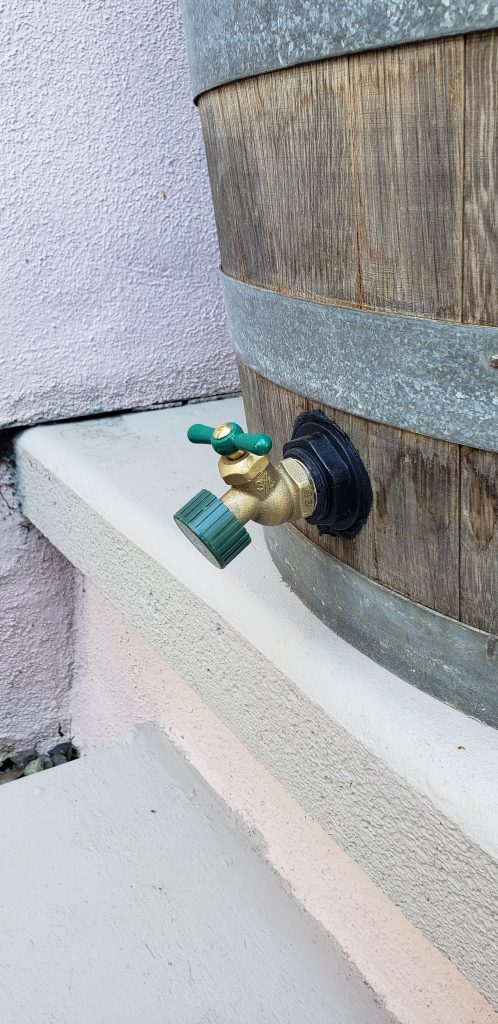
I used a hand truck to place the barrel in its final location before adding the decorative rock on top. Follow this up with some finishing touches such as an inlet plug and a spigot cap and… project complete!
Since this is primarily used to collect the outflow from my aquascape, the inlet is perfect for me to connect up my hose when pumping out the water. The aquarium water is great for use around my home landscape. I plan on collecting rain water as well with a tray that also connects up to the inlet.